
In this article, we’ll explore HDR from the basics and explain it in a clear and practical way.
While HDR-capable TVs and displays have become widely available, awareness of HDR among general viewers is still relatively limited. Even among production professionals, HDR is not always fully understood or used to its full potential.
We hope this article helps deepen your understanding of HDR and inspires you to take greater advantage of what it can offer in your own productions.
So, what exactly is HDR?
HDR (High Dynamic Range) is a technology that expands the range of brightness and color that can be represented in an image.
To experience HDR as intended, you need both an HDR-capable viewing device—such as a Smart TV or compatible display—and content that has been created and delivered in HDR.
Now, let’s take a look at some actual HDR images.
But first, let’s check whether your browser and display are capable of showing HDR correctly.
Switch between “1. HDR 300 nits” and “2. SDR 100% White” below and compare the brightness of the white areas. You can switch between them using the on-screen buttons or the 1 and 2 keys on your keyboard.
If you are viewing this on a MacBook or smartphone, setting the display brightness to maximum will help provide a more appropriate environment for viewing the HDR examples.
If “1. HDR 300 nits” appears clearly brighter than “2. SDR 100% White,” your viewing environment is likely displaying HDR correctly.
If there is little or no visible difference in brightness, your browser, operating system, or display may not support HDR, or HDR may not be enabled. In that case, the image comparisons that follow may not be reproduced as intended.
If you have an HDR-capable iPhone or Android smartphone, you can also try this test on that device.
“1. HDR 300 nits” is an HDR image designed to display white at a luminance of 300 nits in a properly functioning HDR environment. “2. SDR 100% White,” on the other hand, is a standard SDR JPEG image in which each RGB channel of the white area is set to the maximum 8-bit code value of 255.
In professional SDR production environments, reference white is typically based on 100 nits. On consumer TVs and computer displays, however, SDR white may be displayed significantly brighter than 100 nits—sometimes around 200 nits or more.
Even in such an environment, if the white in “1. HDR 300 nits” appears brighter than the white in “2. SDR 100% White,” it is a good indication that the HDR image is being displayed as HDR.
Keep in mind, however, that the actual appearance can vary depending on display brightness, OS and browser HDR settings, and ambient lighting. This comparison is intended only as a simple visual check of your HDR viewing environment.
Now, if you are viewing this in an HDR-capable environment, let’s take a look at some actual HDR images.
The comparison is a little more involved this time. We have prepared four versions of the same image:
- SDR (ACES)
A standard SDR image created using an ACES 2.0 pipeline. - SDR (ACES in HDR)
The same SDR appearance as Image 1, but encoded in an HDR format for comparison within an HDR viewing environment. - HDR (ACES)
An HDR image created using an ACES 2.0 pipeline and displayed as HDR. - HDR (Scene)
An HDR image created while preserving as much of the original scene color and luminance information captured by the camera as possible.
As before, switch between the images using the on-screen buttons or the corresponding number keys and compare the differences.
Click an image to enlarge it in your browser. While enlarged, you can switch between images using either the number keys or the left and right arrow keys.
What did you think?
“1. SDR (ACES)” is a standard SDR image—the kind of image most of us are accustomed to seeing.
“2. SDR (ACES in HDR)” is designed to reproduce the same colors as Image 1. However, because the two images are displayed using different mechanisms, there can be a significant difference in their apparent brightness.
“1. SDR (ACES)” is displayed as an SDR image. In SDR, white is mapped to a brightness level determined by the display and its settings. On a typical consumer display, the brightest white may therefore appear at around 200 nits.
“2. SDR (ACES in HDR),” on the other hand, is displayed as an HDR image. In HDR, encoded luminance values are mapped to specific display luminance levels. In this image, the brightest white is intended to be displayed at 100 nits.
In other words, even though the intended colors are the same, SDR and HDR use different mechanisms to determine the brightness of white. In this viewing environment, that is why “1. SDR (ACES)” may appear brighter than “2. SDR (ACES in HDR).”
Please note that the actual luminance of Image 1 depends on factors such as the display brightness setting, operating system, and browser, so it will not necessarily be 200 nits.
“3. HDR (ACES)” represents a starting point for developing the look of an HDR production. From this baseline, colorists and filmmakers refine the color and brightness to achieve the creative intent of the project.
Because both “2. SDR (ACES in HDR)” and “3. HDR (ACES)” are presented through the same HDR display process, comparing them allows us to focus more directly on the differences between the SDR and HDR images themselves, with less influence from differences in display behavior. A similar comparison between SDR and HDR is often part of the finishing process in a DI suite.
When you compare the two, you may notice that the midtones are not dramatically different. The most significant difference appears in the highlights. “3. HDR (ACES)” preserves and reproduces much more of the intensity and tonal detail in bright areas, revealing one of the key visual advantages of HDR.
The comparison between “1. SDR (ACES)” and “3. HDR (ACES)” can be thought of as the difference that viewers may experience between the SDR and HDR versions of the same content.
Even on the same HDR-capable TV, an HDR-enabled viewing plan and playback environment will display the HDR version, corresponding to “3. HDR (ACES).” With an SDR-only plan or playback environment, the SDR version, corresponding to “1. SDR (ACES),” will be displayed instead.
When comparing the two, “1. SDR (ACES)” may appear brighter overall, while “3. HDR (ACES)” may look somewhat darker across much of the image. However, the HDR version provides a greater sense of contrast and delivers significantly more impact and tonal detail in the highlights.
Actual appearance will vary depending on factors such as the TV model, picture mode, ambient lighting, and the specifications of the streaming service.
“4. HDR (Scene)” is created by converting the color information recorded in S-Log3 / S-Gamut3.Cine into an HDR format without applying any creative color rendering. The goal is to reproduce the brightness and color of the original scene on an HDR display as faithfully as possible.
The main difference between “3. HDR (ACES)” and “4. HDR (Scene)” is the application of the ACES output transform. The ACES output transform includes rendering designed to make the image appear natural and visually pleasing on a display, shaping highlights, shadows, contrast, and color gamut. This processing accounts for much of the visual difference between the two images.
Compared with “4. HDR (Scene),” “3. HDR (ACES)” shows smoother highlight compression, deeper blacks, and somewhat stronger overall contrast.
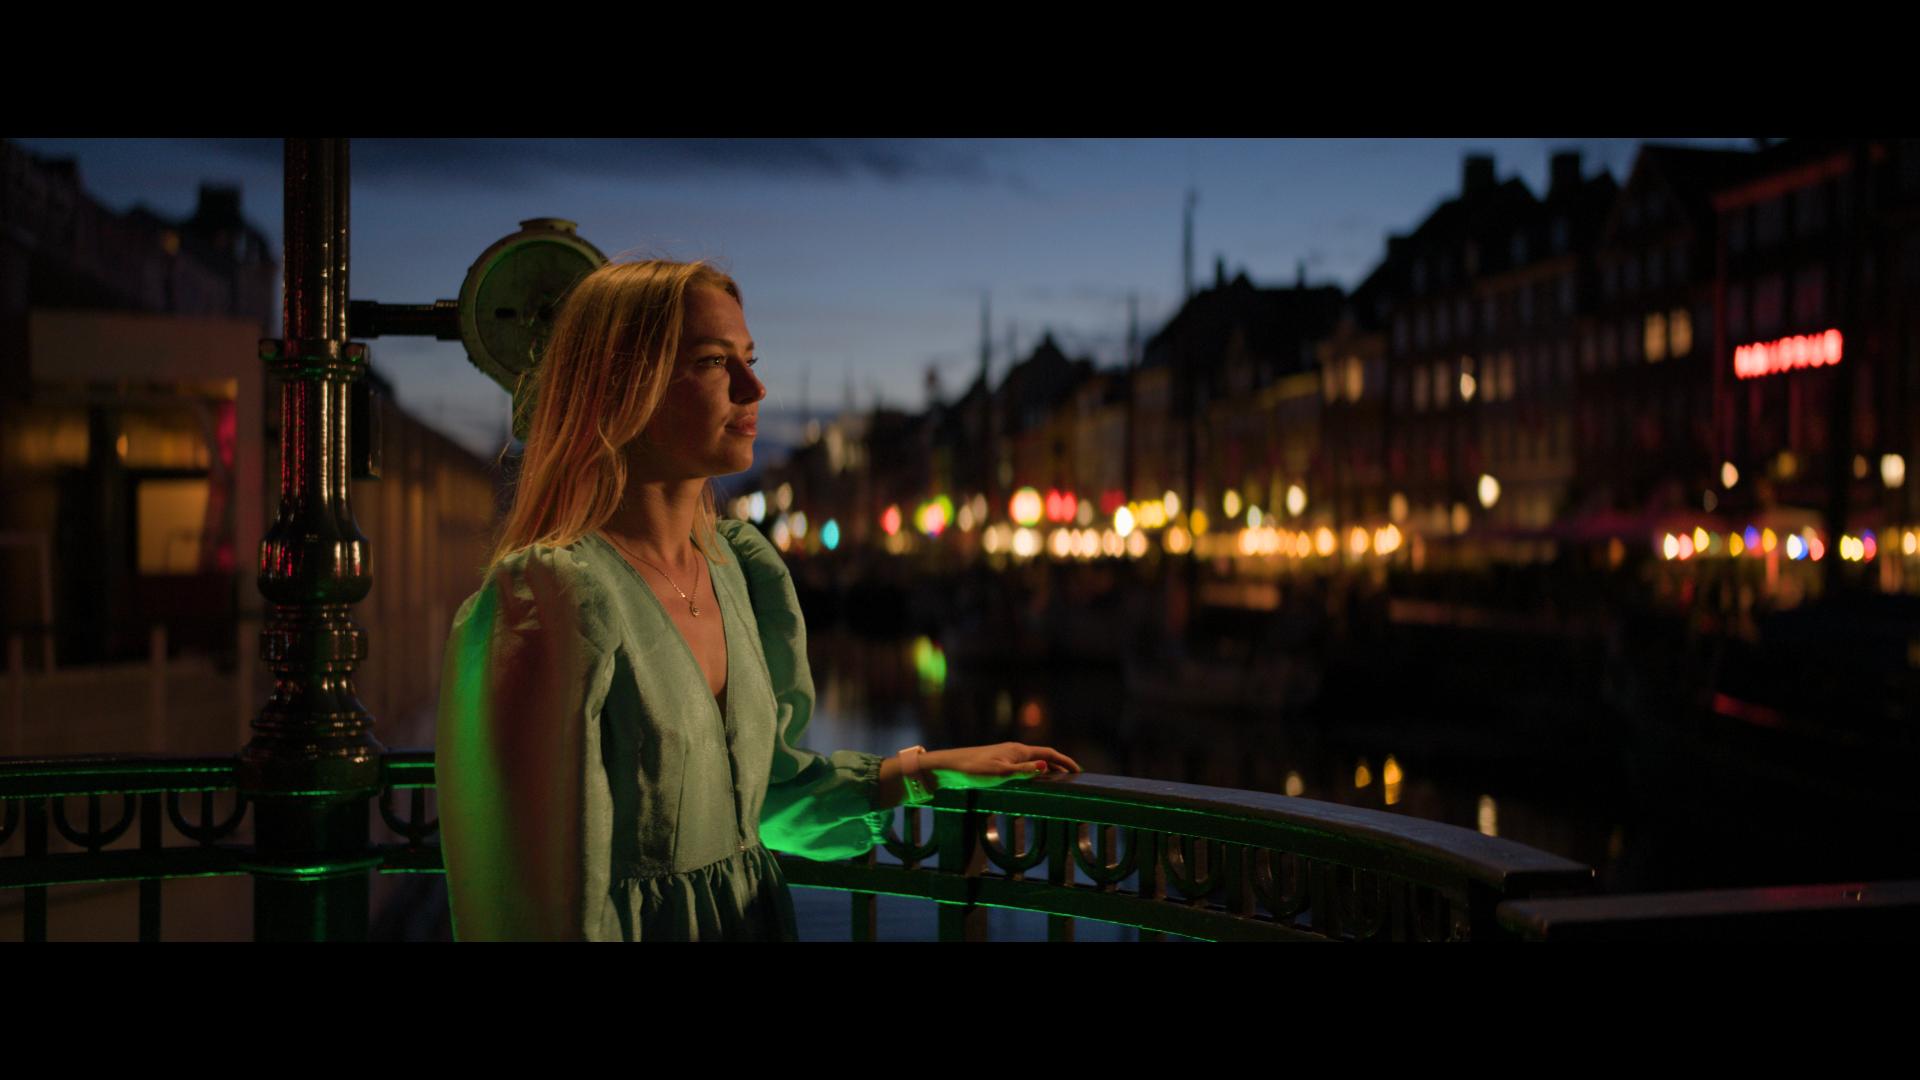
Let’s try the same comparison with some more visually compelling footage.
For this article, we received permission from Sony’s Pan-European Imaging Products & Solutions team to use footage from the VENICE 2 8K X-OCN Download.
Since the original footage was slightly dark for this comparison, we applied a +1 EV exposure adjustment. No other adjustments were made.
So, what did you think?
At this point, some of you may be thinking, “Wasn’t this supposed to be an introduction to HDR?” Fair enough. But I believe these concepts are important for understanding how HDR connects the creative intent of filmmakers with the experience of the viewer—which is why we took the time to explore them in some detail.
In the next article, we’ll take a more technical look at how the images used in these comparisons were actually created, step by step.